Welcome to my second blog post. Hope you’ve had an arty week!
Last time I told you about my Baba Yaga hut (like the one Grayson Perry made, see my first post for more info). Well, this time I’m going to show you how to make your own.
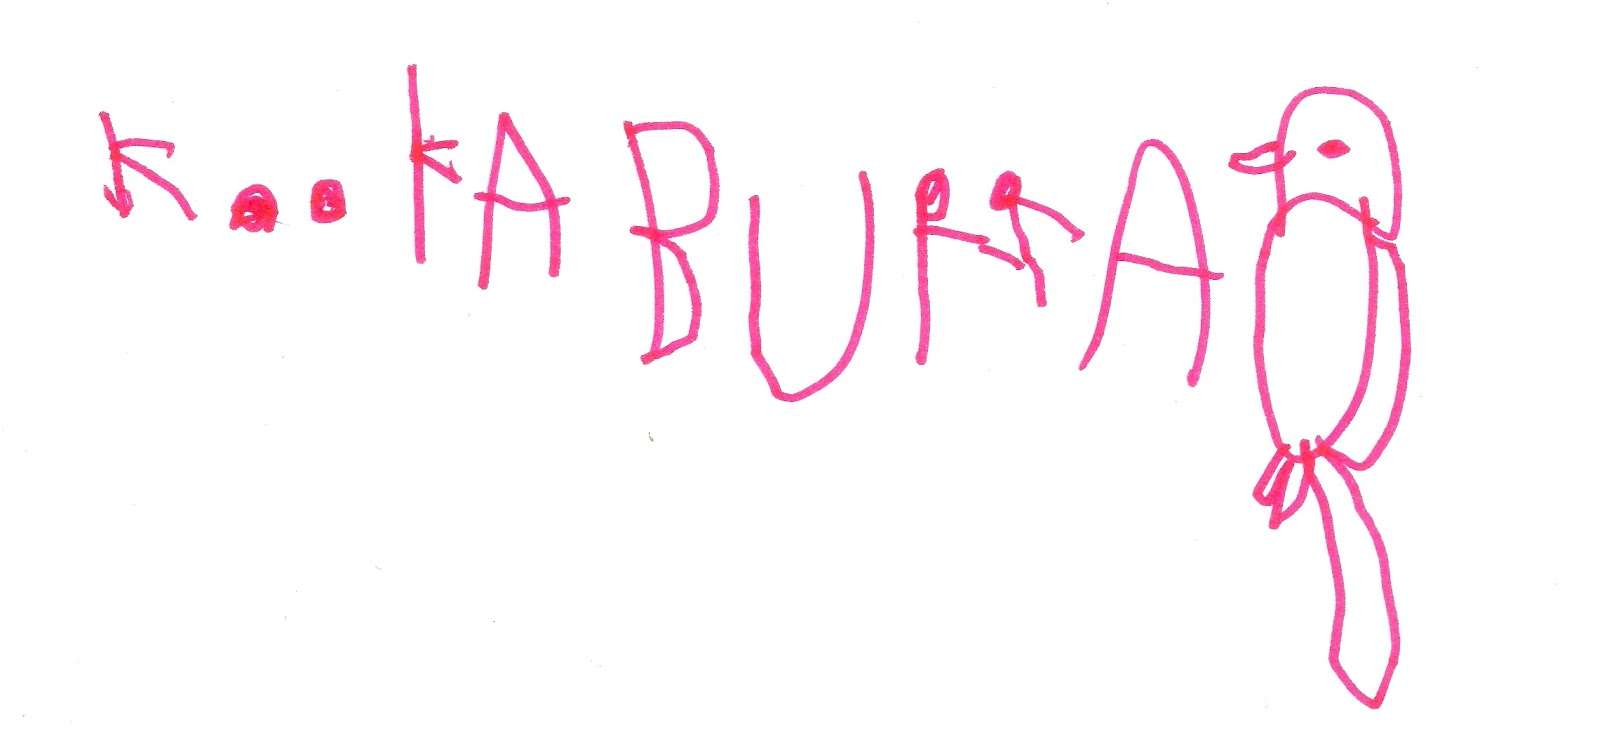
But first a funny fact about myself. When I was four and a half I used to draw kookaburras all the time and also I’m left handed so I used to write backwards like Leonardo da Vinci.
 |
| My drawing from 2011 |
How I Made My Baba Yaga Hut Sculpture
What you’ll need is:
 |
| Ingredients (oops! I forgot STRING!) |
1. First I started with a sturdy box and covered it with paper. The paper made it easer to stick things to the box. Stick the paper on with craft glue.
 |
| Trying to make the roof sturdy |
2. I wanted to get the shape of the roof on Grayson Perry’s hut so I folded a piece of paper and stuck the edges to the box. The paper was floppy, so first I tried some wire but later I bent some cardboard to be a tiny bit smaller than the triangular frame and slipped it inside. That worked.
 |
| Detail of collage on roof |
3. Grayson Perry’s sculpture is made out of real wood and metal pieces but we didn’t have those so we decided to use COLLAGE. We went through magazines and found lots of rusty and rotted colours and cut them into strips and overlapped them onto the box and roof. I used pictures of mountainsides, ships, rigging, stone buildings, and even a dark river with lots of rocks.

4. At this stage we went looking in the yard for lots of old metal-looking bits and we also went to the local recycling centre where we found a chain, a tiny picture frame and some golden metal fancy ornaments. Some we stuck on with super glue and some we attached with screws. You could use any bit and bobs you’d like and think would match the house. It’s up to you.
Mum cut a hole in the side so that the frame became a window. She also cut a hole in the bottom so we could shine a light inside (she also sneakily stuck a picture of a living room inside to make it more cosy).

5. The door and stand and chicken legs are made out of sticks we found in the backyard. The door is a piece of cardboard with little twigs glued on and finally a little metal circle thing stuck on as a door handle. The stand and chicken legs were trickier. The chicken legs are tiny twigs wrapped in masking tape and orange collage. We covered the top of the legs with feather shaped cutouts in the colours of the house. For the stand we used 9 middle-sized sticks. See below for illustration.

I’m really happy about my sculpture and I hope you’ll be happy with yours. It took a couple of weeks to make so BE PATIENT and KEEP GOING! It takes time to make good art. See you next time, S.
No comments:
Post a Comment